Rocky Mountain Lizard Photography Tips
Have you ever tried capturing photos of lizards in the Rocky Mountains? It’s a thrilling experience that can lead to some incredible shots. Let me share some insights on understanding the behavior of these fascinating creatures.
When it comes to photographing Rocky Mountain lizards, knowing their behavior is key. It’s like getting to know your quirky neighbors – each one has its own personality and habits. I remember the time I was trying to photograph a curious lizard as it scurried across a rock, only to realize that it was just as interested in me as I was in capturing its image.
Understanding the behavior of Rocky Mountain lizards can help you anticipate their movements and reactions, allowing you to capture more authentic and captivating shots. Did you know that some lizards are more active during certain times of the day, while others prefer basking in the sun or hiding in crevices? This knowledge can be invaluable when planning your photography sessions.
One practical tip I’ve found useful is to observe lizards from a distance before approaching them for a photo. By taking the time to watch their behavior and movements, you can better position yourself to capture that perfect shot without startling them. It’s all about patience and respect for these incredible creatures that call the Rocky Mountains their home.
So, the next time you’re out in the Rocky Mountains with your camera, take a moment to observe the behavior of the lizards around you. You might be surprised by what you discover and how it can enhance your photography skills. After all, getting up close and personal with nature’s little wonders is what makes wildlife photography so rewarding.
Understanding the Behavior of Rocky Mountain Lizards
Hey there! So, when it comes to capturing those elusive Rocky Mountain lizards on camera, understanding their behavior is key. You wouldn’t believe the time I spent trying to get that perfect shot of a lizard perched on a rock, only to realize it had scampered away the moment I got too close. Understanding how these little critters move and behave can really up your photography game.
Did you know that Rocky Mountain lizards are known for their cautious and skittish nature? It’s like they have a sixth sense when it comes to detecting potential threats. That’s why it’s crucial to approach them slowly and quietly, almost like you’re playing a game of stealth mode. Observing their behavior from a distance can give you valuable insights into how to position yourself for that ideal shot without startling them.
One practical tip I’ve learned is to study their habitat. Rocky Mountain lizards have their favorite spots where they bask in the sun or hunt for prey. By familiarizing yourself with their environment, you can anticipate where they might be and plan your photography session accordingly. It’s like a game of hide-and-seek, but with a camera!
Have you ever faced the challenge of capturing a lizard mid-movement? It’s like trying to photograph a tiny speed racer! Patience is key in these situations. Sometimes you have to wait for the perfect moment when the lizard pauses or slows down, giving you a brief window to snap that action shot. Trust me, the satisfaction of nailing that shot is totally worth the wait.
Understanding the behavior of Rocky Mountain lizards isn’t just about getting a great photo; it’s also about respecting these fascinating creatures and their natural habitat. So, next time you’re out in the Rockies with your camera, take a moment to observe and appreciate the beauty of these agile and elusive lizards. Who knows, you might just capture a moment that tells a story beyond words.
Essential Gear for Capturing Lizards in the Wild
When it comes to capturing stunning images of Rocky Mountain lizards, having the right gear is essential. I remember one time I was out in the mountains, eagerly trying to photograph a colorful lizard basking on a rock. However, my camera equipment was not up to par, and I ended up missing the perfect shot.
Having the right gear can make all the difference in your lizard photography endeavors. From the camera body to the lens, each piece of equipment plays a crucial role in capturing those intricate details and vibrant colors of these fascinating creatures. Investing in a camera with a high-resolution sensor will ensure that you can capture sharp and detailed images of Rocky Mountain lizards in their natural habitat.
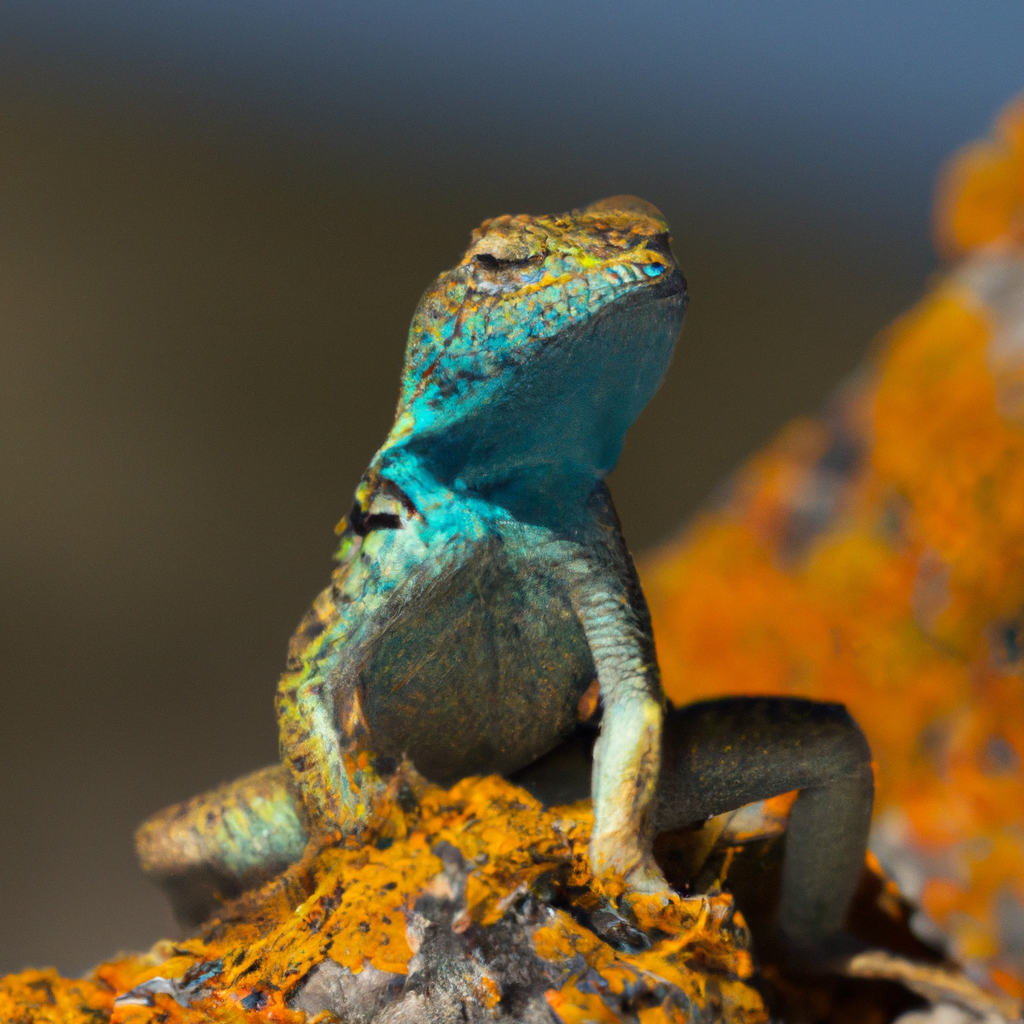
Additionally, choosing the right lens is key to getting up close and personal with these elusive creatures. A macro lens is ideal for capturing the intricate patterns and textures of a lizard’s skin, while a telephoto lens can help you photograph lizards from a distance without disturbing them. Don’t forget to pack essentials like a tripod to stabilize your shots, especially in low-light conditions, and a remote shutter release to minimize camera shake.
When it comes to gear, quality matters more than quantity. Instead of lugging around multiple lenses, focus on mastering the use of one or two versatile lenses that suit your style of lizard photography. By understanding your gear inside and out, you can confidently navigate the rugged terrain of the Rocky Mountains and capture breathtaking images of these elusive reptiles.
Remember, the right gear can elevate your lizard photography game and help you create captivating images that truly showcase the beauty of Rocky Mountain lizards. So, gear up and get ready to embark on an exciting photography adventure in the heart of nature’s playground!
Best Locations in the Rocky Mountains for Lizard Photography
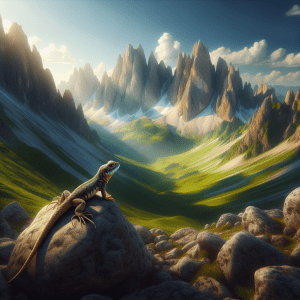
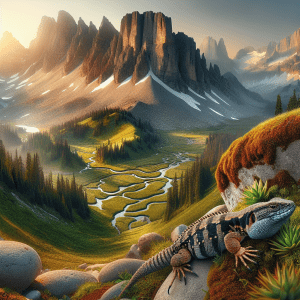
When it comes to capturing stunning images of lizards in the Rocky Mountains, choosing the right locations can make all the difference. I remember the first time I ventured out to photograph these fascinating creatures in their natural habitat. It was a crisp morning, and I found myself surrounded by the breathtaking beauty of the Rockies. The thrill of spotting a lizard basking in the sun and trying to capture its essence through my lens was truly exhilarating.
Did you know that the Rocky Mountains are home to a diverse range of lizard species, each with its own unique characteristics and behaviors? This interesting fact adds an extra layer of excitement to the photography experience, as you never know what kind of lizard you might encounter during your adventures.
Selecting the best locations in the Rocky Mountains for lizard photography is crucial for success. From rocky outcrops to sunlit meadows, these reptiles can be found in various habitats across the region. Understanding the behavior of Rocky Mountain lizards and knowing where to look for them can greatly increase your chances of capturing striking photographs.
As you plan your lizard photography expedition, consider the challenges that may arise when photographing these quick and elusive creatures in the wild. Patience and perseverance are key, as lizards can be skittish and easily startled. Finding the right balance between observation and stealth is essential for getting up close and personal with your subjects.
Exploring the diverse landscapes of the Rocky Mountains in search of lizards is not only a thrilling photographic adventure but also an opportunity to immerse yourself in the natural beauty of this iconic region. So, grab your camera, pack your gear, and get ready to embark on an unforgettable journey of Rocky Mountain lizard photography!
Techniques for Achieving Sharp and Detailed Lizard Shots
Lighting plays a crucial role in capturing stunning photographs, and when it comes to photographing lizards in the Rocky Mountains, understanding how to leverage natural light is key. Picture this – you’re out in the wild, surrounded by the majestic Rocky Mountain landscape, waiting for the perfect moment to capture a lizard basking in the sun. That’s where lighting techniques come into play to elevate your lizard photography game.
When you’re aiming to achieve sharp and detailed shots of Rocky Mountain lizards, the angle and direction of light can make all the difference. The golden hours of sunrise and sunset offer soft, warm light that enhances the textures and colors of your lizard subjects. Imagine the soft glow of the early morning sun casting a beautiful hue on the scales of a lizard, creating a mesmerizing effect in your photographs.
Experimenting with backlighting can also add a dramatic touch to your lizard images. By positioning yourself so that the light is behind your subject, you can create a striking silhouette effect or capture the translucent quality of a lizard’s skin as it basks in the sunlight. Think of the silhouette of a lizard against the backdrop of a glowing sunset, creating a captivating and artistic composition that draws the viewer’s eye.
Furthermore, understanding how to manipulate light through diffusers or reflectors can help you control the intensity and direction of light on your lizard subjects. Whether you’re softening harsh midday sunlight or highlighting specific features of a lizard, these tools can be invaluable in shaping the lighting conditions to achieve your desired photographic results.
So, next time you’re venturing into the Rocky Mountains to photograph lizards, pay attention to the interplay of light and shadow. Consider how different lighting techniques can transform your images, adding depth, mood, and visual interest to your lizard photography. Embrace the magic of light in nature and let it guide you in capturing the beauty of Rocky Mountain lizards through your lens.
Lighting Tips for Enhancing Your Lizard Photography
Lighting is a crucial aspect of photography, and when it comes to capturing images of lizards in the Rocky Mountains, it can make all the difference between a mediocre shot and a stunning masterpiece. Let me tell you about the importance of lighting in lizard photography.
Imagine you are out in the Rocky Mountains, ready to capture the beauty of a lizard basking in the sun. The way the sunlight hits your subject can dramatically impact the outcome of your photograph. Have you ever noticed how different lighting conditions can completely change the mood and feel of an image?
When photographing lizards, especially in their natural habitat, you need to pay close attention to the light. The harsh midday sun can create strong shadows and overexposure, making it challenging to get a well-balanced shot. On the other hand, the soft, gentle light of early morning or late afternoon can enhance the colors and textures of the lizard, creating a more visually pleasing image.
One practical tip I can share with you is to consider the direction of the light. Front lighting, where the light source is behind you, can illuminate the lizard evenly but may lack depth. Experimenting with side lighting or backlighting can add dimension and drama to your photographs, highlighting the textures and contours of the lizard’s scales.
Another important aspect to consider is the color temperature of the light. The warm golden hour light during sunrise and sunset can cast a beautiful glow on your subject, while the cooler light of midday can give a different feel to your images. Understanding how different lighting conditions affect your photos can help you create more compelling and dynamic lizard photographs.
So, the next time you venture into the Rocky Mountains to photograph lizards, pay close attention to the lighting around you. Experiment with different angles, times of day, and light sources to elevate your photography skills and capture breathtaking images of these fascinating reptiles in their natural habitat.
Editing and Post-Processing Tips for Lizard Images
Editing and post-processing are crucial steps in enhancing your lizard images after a successful photoshoot. It’s like adding the final touch of magic to bring out the best in your photographs. Imagine you’ve just returned from a day of photographing lizards in the Rocky Mountains. You’ve captured some stunning shots, but they could use a bit of tweaking to really make them pop. This is where editing comes in.
One interesting fact about editing lizard images is that subtle adjustments can make a big difference in the overall quality of your photos. Whether it’s adjusting the brightness and contrast, sharpening details, or correcting colors, these edits can elevate your images from good to outstanding.
Now, let’s delve into some practical tips for editing your lizard photos. One essential piece of advice is to use editing software that allows for non-destructive editing, such as Lightroom or Photoshop. This way, you can make changes to your images without altering the original file, giving you more flexibility and control over the editing process.
Another tip is to pay attention to details when editing lizard images. Focus on sharpening the intricate patterns and textures of the lizard’s skin to highlight their natural beauty. Additionally, consider adjusting the exposure and white balance to ensure your photos accurately reflect the colors and lighting conditions of the Rocky Mountain environment.
As you edit your lizard images, don’t be afraid to experiment with different editing techniques and styles. Play around with filters, presets, and effects to find a look that suits your artistic vision. Remember, editing is a creative process, so let your imagination run wild!
By applying these editing and post-processing tips to your Rocky Mountain lizard photographs, you can take your images to the next level and create captivating visuals that truly showcase the beauty of these fascinating creatures in their natural habitat.
Mastering Rocky Mountain Lizard Photography
When it comes to editing and post-processing your lizard images, it’s all about adding that final touch to make your photographs truly stand out. Think of it as the icing on the cake – the step that takes your photos from good to great.
Editing allows you to enhance the colors, contrast, and overall look of your images. It’s where you can really get creative and make your lizard photos pop. One practical tip I always keep in mind is to edit with a light touch. Sometimes less is more, and subtlety can go a long way in enhancing the natural beauty of your lizard subjects.
I remember one time I was editing a photo of a majestic lizard basking in the sun atop a rocky outcrop in the Rocky Mountains. With a few adjustments to the contrast and saturation, the image transformed into a masterpiece that captured the essence of that moment. It’s amazing how a little editing can make such a big difference in the final result.
Did you know that editing is not about changing the reality of the scene but rather enhancing the visual impact of the image? By adjusting the brightness, sharpness, and colors, you can bring out the details and beauty of the lizard in a way that reflects your unique perspective as a photographer.
So, the next time you’re editing your lizard photos, think about the story you want to tell and how you can use editing to bring that story to life. Experiment with different editing techniques, play around with filters and effects, and don’t be afraid to let your creativity shine through. Remember, editing is your chance to put your personal stamp on your photographs and showcase the beauty of Rocky Mountain lizards in a whole new light.