Have you ever found yourself daydreaming about creating something magical, yet completely unique? Picture this: a bath bomb that transforms your tub into a vibrant lizard habitat—fun, right? Welcome to the whimsical world of Lizard Bath Bomb Creations. Here, creativity meets relaxation, and every fizzy splash brings a touch of adventure to your bath time. We get it—stepping into the world of bath bomb making can feel a bit like diving into the deep end of a pool. It's not uncommon to feel a tad overwhelmed by the ingredients, molds, and techniques. But fear not! This guide is your trusty map through the enchanting terrain of Lizard Bath Bomb Creations. We're here to make sure you're not just splashing around aimlessly but crafting with confidence. Imagine the delight on your family's faces as you unveil your creations—each one a burst of color and scent, like a mini vacation right at home. From choosing the perfect molds to adding those delightful scents and colors, you'll discover how to transform simple ingredients into bath-time masterpieces. So, are you ready to embark on this creative journey? Grab your apron, and let's dive into the fizzy, colorful world of Lizard Bath Bomb Creations!
Unveiling the Magic of Lizard Bath Bomb Creations
Ever wonder how something as simple as a bath bomb can turn bath time into an unforgettable adventure? Imagine this: your kid's eyes light up as the tub transforms into a bubbling cauldron of colors and fizz—it's like magic! But there's a twist—hidden within the mystery of it all is a tiny, enchanting lizard toy. Welcome to the world of Lizard Bath Bomb Creations! They’re not just bath bombs; they're your ticket to a world of imagination and joy. Picture this: you’re about to embark on a journey to create your own Lizard Bath Bomb Creations. It starts with gathering ingredients—think of them as your magical potions. Baking soda, citric acid, and Epsom salts form the foundation. Add a dash of cornstarch for that perfect fizz. As you blend these powders, imagine you're a wizard concocting a spell. Now, here’s where the fun begins—choose your colors and scents. Maybe a splash of blue for an oceanic vibe or a hint of lavender for a calming retreat; it's your canvas! Next, the secret ingredient—water. But not just any water. Mix it with a touch of oil (coconut or olive works wonders) to bind everything together. Slowly drizzle it into your mixture, feeling the texture change beneath your fingertips. It's like crafting a sandcastle, but instead, you're building excitement. And here comes the pièce de résistance: the tiny lizard toy. Nestle it in the center, imagining the surprise and delight it will bring. Finally, mold your creation. Gently press the mixture into a mold, and let it set. As it dries, picture the anticipation building. Your Lizard Bath Bomb Creations are almost ready to unleash their magic. So, why not take a shot at it and see where it leads? Your bath-time adventures await!
Understanding the Ingredients: What Goes into Making Lizard Bath Bombs
Ever wondered what it takes to transform your tub into a colorful, fizzy paradise? Picture this: you're in your kitchen, surrounded by a few simple ingredients, ready to create your own "Lizard Bath Bomb Creations." It's like being a mad scientist—but with more bubbles and less chaos. The magic starts with baking soda, the unsung hero of fizz. Imagine it as the engine behind the effervescent show, waiting to burst into action the moment it touches water. Next up, citric acid joins the party. Think of it as baking soda's dance partner—together, they create that delightful fizz that makes bath time feel like a mini adventure. Add a splash of Epsom salts to soothe your skin, like a gentle hug from a warm towel after a long day of exploring. And let's not forget the essential oils; they're the secret ingredients that turn your bath into a fragrant escape. Whether you're a fan of calming lavender or invigorating peppermint, these oils add a personal touch to your Lizard Bath Bomb Creations. Now, for a splash of color and creativity, mix in some natural colorants—because who doesn’t want their bath to look like a vibrant lagoon? As you blend these ingredients, envision the transformation happening right before your eyes. It's a bit like mixing paint, but the canvas is your bath. Finally, a few drops of water bring everything together, like the final piece of a puzzle. The mixture becomes a moldable masterpiece, ready to dry and dazzle. Before you know it, you’re not just making bath bombs—you’re crafting little moments of joy, right in your own home. So, why not take a shot at it and see where it leads? With each fizzing creation, you're not just building brand authority; you're adding a sprinkle of magic to everyday life.
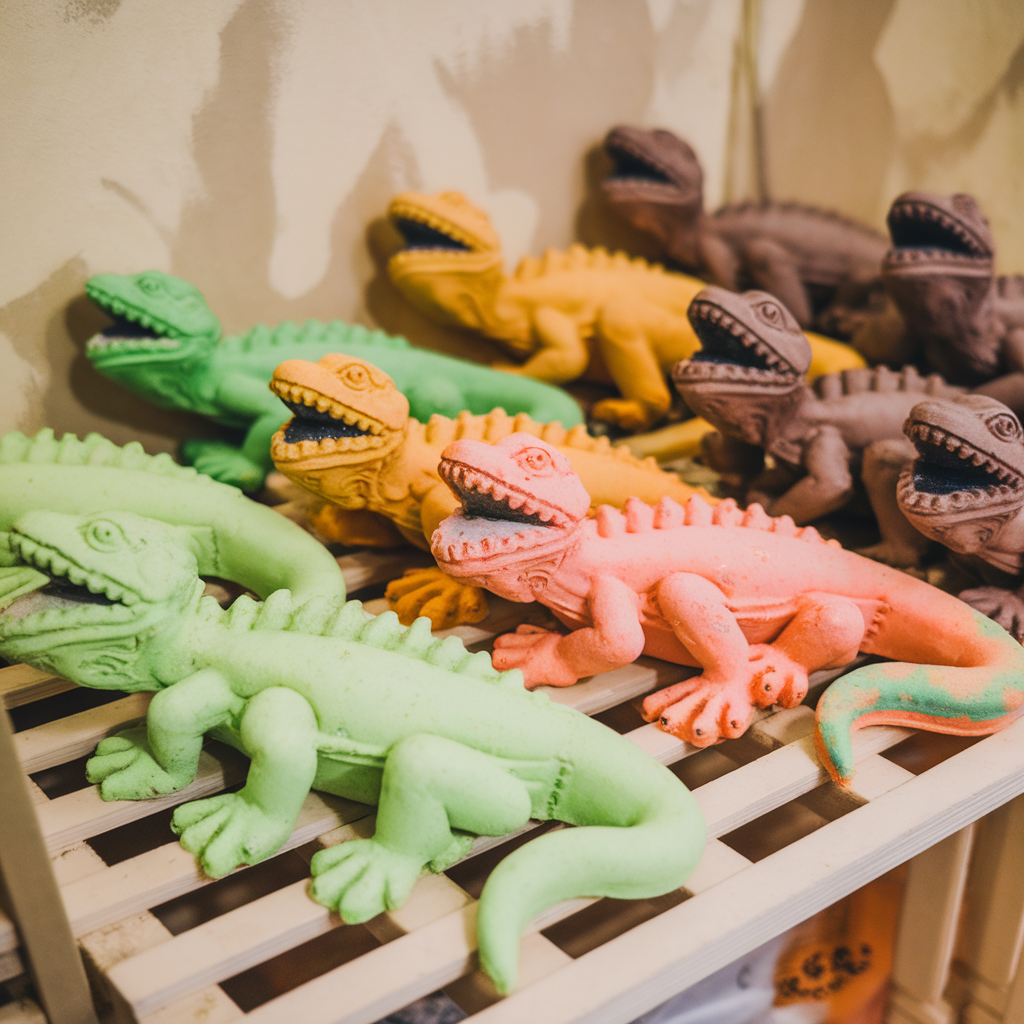
Choosing the Right Molds and Shapes for Lizard Bath Bomb Creations
Ever tried fitting a square peg into a round hole? Well, choosing the right mold for your Lizard Bath Bomb Creations can feel just like that sometimes—except with more bubbles and less frustration. As we dive deeper into our adventure, remember that the mold is your playground. Your imagination is the only limit! Picture this: you're in a tropical jungle, and your bath bomb molds are the leaves and branches where your little lizard friends can perch. When selecting molds, think about what sparks joy and curiosity. Silicone molds are fantastic—they're flexible and come in all sorts of fun shapes, from geckos to chameleons. Plus, they make popping out your creations a breeze, like plucking a ripe fruit from a tree. But hey, if you're feeling crafty, household items can double as molds too. Ice cube trays, muffin tins, or even those quirky sandcastle molds from last summer's beach trip can work wonders. Just imagine the delight on your kids' faces when their bath time lizards emerge from unexpected shapes. It's like a surprise party in the tub! Now, a little secret for beginners—don't stress about perfection. The first few attempts might look more like abstract art than a lizard, but that's half the fun! Each bath bomb is a step closer to becoming a pro, and who knows, you might just invent the next big thing in bath time luxury. So go ahead, unleash your creativity and see where this journey takes you. Why not give it a whirl?
Adding Essential Oils and Colors: Enhancing the Experience of Lizard Bath Bombs
Continuing our exploration into the magical world of Lizard Bath Bomb Creations, let's dive into the exciting addition of essential oils and colors. Imagine you're a painter with a blank canvas—except your masterpiece will fizz and swirl in your bath! Start by choosing your essential oils. Lavender is like a gentle hug after a long day, while citrus oils can wake you up faster than your morning coffee. Picture the aroma filling your bathroom, transforming it into a mini-vacation spot. Next, grab your colors. Think of them as the adventure's visual element. You might opt for bold blues or vibrant greens to mimic a tropical lagoon. Mix these colors gently into your bath bomb mixture. It’s like swirling cream into coffee—watching the colors blend is half the fun! And if you're feeling a bit artsy, try combining two colors for a marbled effect. As you incorporate these elements, remember that the goal is to create an experience. Imagine your kids giggling as they watch the bath bomb fizz, the colors swirling around like a mini-rainbow. With Lizard Bath Bomb Creations, you're not just making bath time fun; you're crafting memories. So, why not give this a whirl and see where your creativity takes you?
Mixing and Molding: Bringing Your Lizard Bath Bomb Creations to Life
Diving into the world of Lizard Bath Bomb Creations is like setting off on a mini-adventure right in your kitchen. Imagine yourself as a mad scientist, but instead of brewing potions, you're crafting colorful, fizzy wonders. Start by gathering your ingredients—baking soda, citric acid, and those vibrant pigments that’ll make your bath bombs pop. You want your creations to be as eye-catching as a chameleon in a garden, so don’t hold back on the colors. Mix your dry ingredients in a bowl, letting the textures mingle like old friends catching up. Now, it's time to add the magic touch—your essential oils. Picture them as the secret ingredient in your grandma's pie recipe. Slowly drizzle them into your mixture, watching as the scents swirl around you like a fragrant breeze. Stir gently, ensuring everything blends smoothly, avoiding lumps that might turn your bath bomb into a stubborn little rock. You're aiming for a consistency that's moist enough to hold together but not too wet—kind of like the perfect sandcastle mix. Next comes the molding, which is where your inner artist really gets to shine. Pack your mixture into molds, pressing firmly as if you're molding clay into a masterpiece. If you’re feeling extra creative, why not try adding a tiny plastic lizard in the center? It’s like a treasure hunt waiting to happen in your bathtub! Let your bath bombs dry overnight, transforming from simple powders into solid spheres of fun. And there you have it! A little patience, a sprinkle of creativity, and voilà—your Lizard Bath Bomb Creations are ready to make a splash. So, why not give it a whirl and see the smiles they bring? After all, every bath time should be an adventure, and you’re the one holding the map.
Drying and Curing: Patience is Key in Perfecting Your Lizard Bath Bombs
Ever tried waiting for cookies to cool only to sneak a bite too soon? Drying and curing your Lizard Bath Bomb Creations can feel a bit like that—patience is your best friend here. Once you've molded your bath bombs, leave them in a dry, cool spot. This is where the magic happens! Picture your creations as little adventurers, embarking on a journey to become the perfect bath-time companions. They need a solid 24 to 48 hours to set, but trust me, it's worth the wait. Think of it like baking a cake: you wouldn't frost it while it's hot, right? Similarly, rushing this step could lead to crumbly, sad bath bombs. During this curing phase, make sure they're not touching each other. This allows for even drying and prevents any unwanted sticking. Imagine them as tiny travelers who need their space to breathe and grow into their full potential. If you live in a humid area, consider using a fan to help circulate the air—just like a gentle breeze on a summer day at the beach. And don't worry, if you're feeling a bit impatient, remember that each day brings you closer to unveiling your masterpiece. So, why not take a shot at it and see where it leads? Your lizard-themed delights are almost ready for their debut!
Sharing the Joy: Gift-Wrapping and Presenting Your Lizard Bath Bomb Creations
Ever wonder if wrapping a gift could be as delightful as finding the perfect travel destination? Imagine presenting your Lizard Bath Bomb Creations with the same excitement as unveiling a new adventure. Picture this: you've crafted these colorful, fizzy wonders, and now it's time to package them with love. Start with a simple yet sturdy box—think of it as the suitcase for your bath bombs. Line it with tissue paper, like you're adding a cozy blanket for your little lizard friends to nestle in. Next, grab some colorful wrapping paper—maybe something with a fun, exotic pattern that reflects the adventurous spirit of travel. As you wrap, picture each fold as a gentle wave lapping at the shore. Secure your creation with a playful ribbon, tying it up like you're securing your luggage for an exciting journey. You might even add a personal note, a little guide to the wonders of bath time relaxation, much like a travel itinerary for the mind. Now, imagine the joy on the recipient's face as they unwrap your Lizard Bath Bomb Creations, feeling like they've just been handed a ticket to a tropical escape. It's not just about the gift; it's about the experience, the anticipation, the delight in discovering something new. So, why not give it a whirl? Wrap your creations with the same care and excitement you'd pack for the trip of a lifetime, and watch as you spread joy, one bath bomb at a time.
Conclusion
Ah, the journey we've taken through the whimsical world of Lizard Bath Bomb Creations! It's been quite the adventure, hasn't it? We've explored everything from the magical ingredients that spark joy to the artful shapes that make each bath bomb a tiny masterpiece. And let's not forget the splash of essential oils and colors that transform a simple bath into an exotic getaway. Remember, each step is like crafting your own little oasis—one that's as unique as a lizard sunbathing on a sunny rock! Now, here's the thing: diving into something new can feel a bit like stepping into uncharted territory. But that's where the magic happens, right? You've got the knowledge, the creativity, and a sprinkle of courage—everything you need to embark on this colorful journey. So why not give it a whirl? Grab those molds, mix up that fizzy magic, and watch your creations come to life. The best part? You get to share this joy with your loved ones, turning simple moments into cherished memories. So, what are you waiting for? Start your lizard bath bomb adventure today, and let each creation be a reminder that the best journeys begin with a single, playful step. Trust me, once you dive in, you'll be hooked!